

Creating your first PowerApps
Step 1
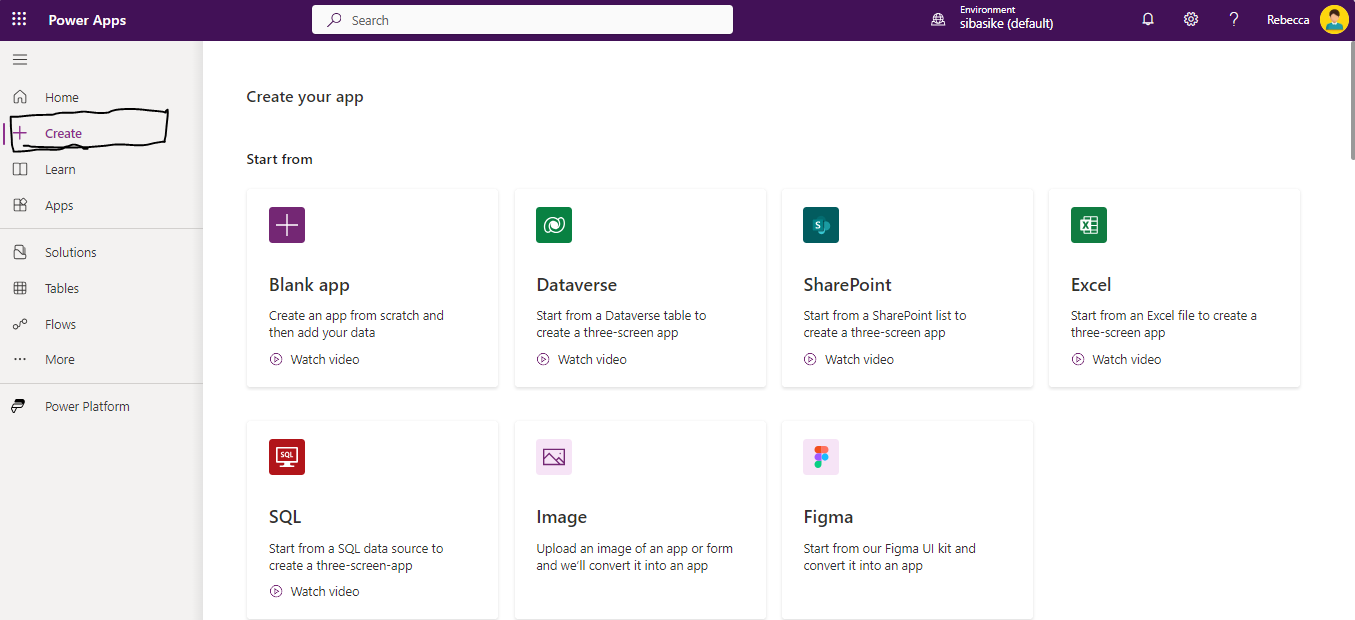
To create the PowerApps application, navigate to https://make.powerapps.com/ and click on Create from the left navigation menu.
Step 2
Select the data source which you need to connect to the PowerApps.
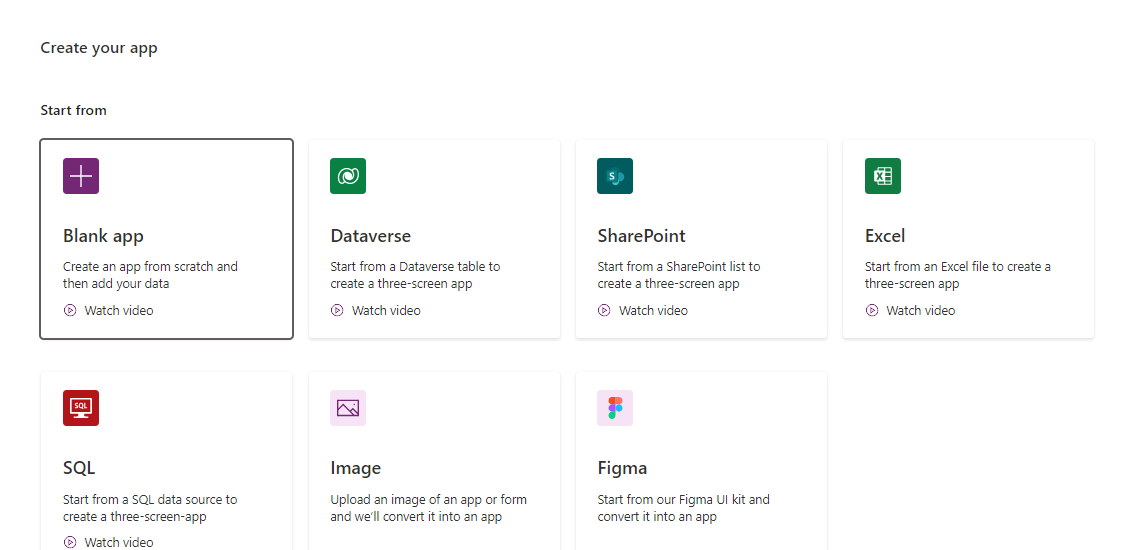
Here we have multiple options to create our first PowerApps.
Blank App
This will create a blank canvas app and then you can start designing your UI by dragging and dropping the controls from the control bar to the canvas screen.
Dataverse
Once you have selected this and hit the create button, it will ask you to select specific entities from the current environment. It may not give you anything if you do not have permission to access the Dataverse environment.
SharePoint
If you are planning to design a custom form and perform data operations into a SharePoint list, then in that case you can directly select this SharePoint option. Once selected, this will ask to choose the SharePoint site and then ask to select the SharePoint list to which this PowerApps is required to be connected. Once the connection is done, you might see some readymade screens available for the given SharePoint list.
Excel
Once you have selected this, and hit the create button, it will then ask you to specify the location of the Excel file and then it will ask you to select a specific table from the Excel sheet. So, while selecting Excel, we must have a table defined in the Excel file that we will be selecting.
SQL
This will create an app with an SQL database table as a data source. Here, if you have your SQL database in Azure, then we can make use of SQL connectors, if our SQL database is on-premises, then we will need to install and configure the on-premises gateway to access the table from the on-premises SQL database.
Image
For example, you have a form design image sent by your designer and now you need to design that same form in PowerApps then we can select his option and once we select this option, it will then ask us to upload that image and once we create the application, it will try to create controls based on the given image. This feature is still in preview, so it may or may not work properly.
Figma
If you have designed your form in Figma then you can directly create that Figma form into the PowerApps screen. you just have to connect your Figma account and select the form and then it will create a screen design similar to your Figma design. This is also in preview mode, so it may or may not work properly.
Creating an App from Blank
To create your apps from blank, click on “Blank App.”
Now, you will be further classifying which type of app you want to create. The options are below.
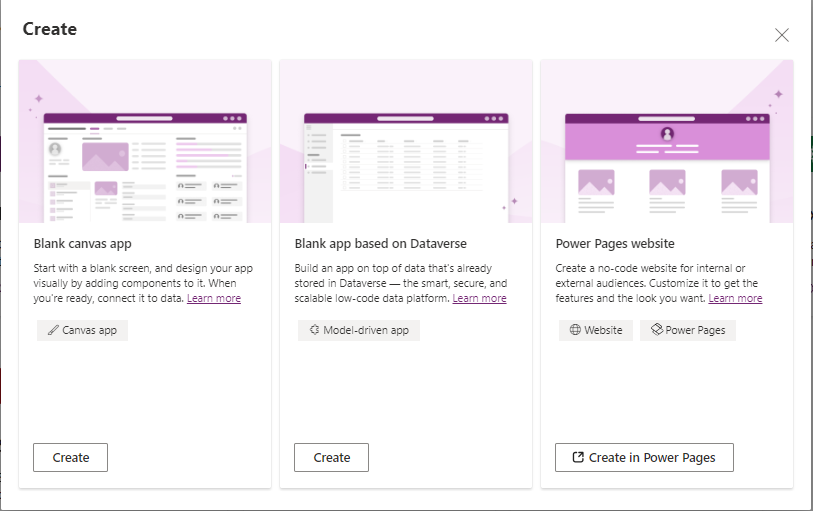
Blank canvas app: In this app type, you have to design the screens from scratch and then import/connect your data sources and play with them.
Blank app based on Dataverse: In this, you have to select any table from the Dataverse and create the app based on that.
Power Pages website: This will be a website that can be access using Authenticated or Anonymous users.
Let’s go with the “Blank canvas app” for now. Click on the Create button.
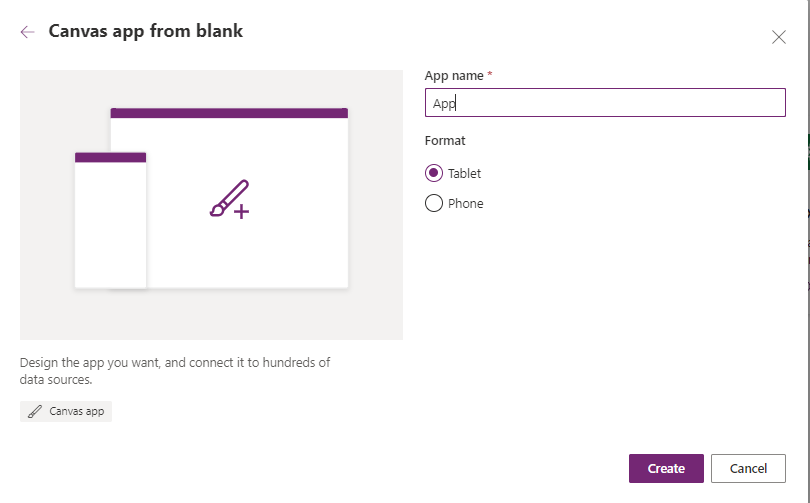
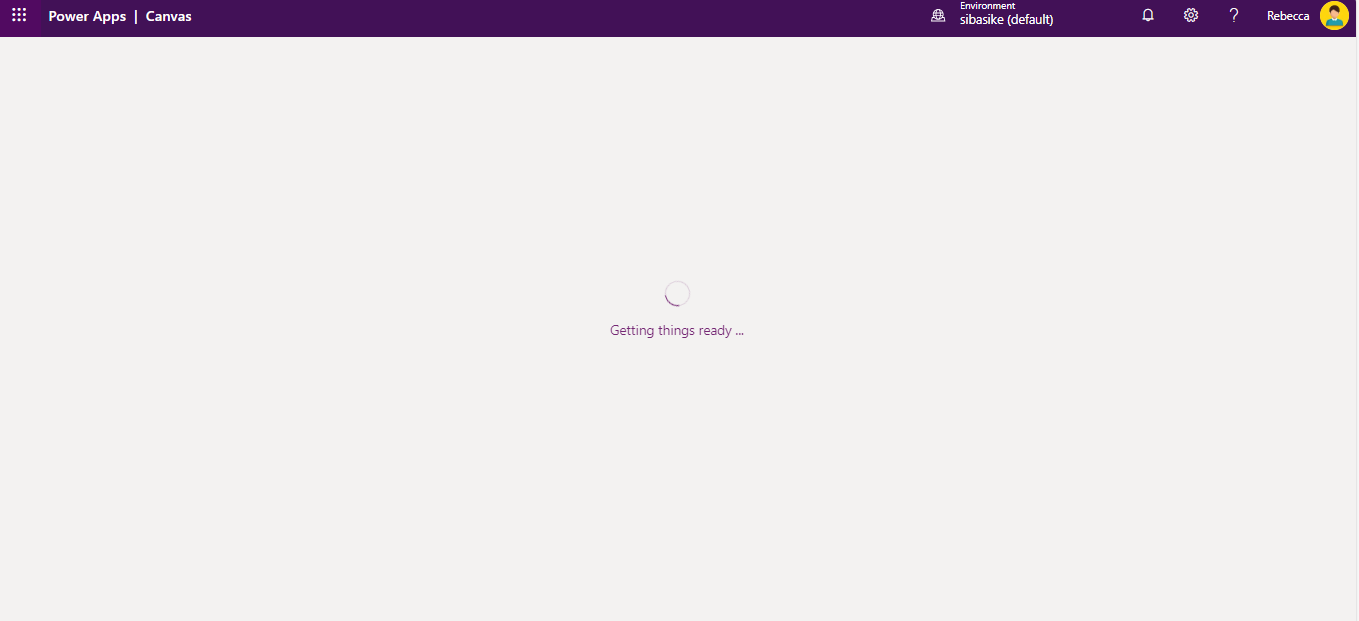
It will start provisioning your app and display the “Getting things ready” screen.
Once your app is provisioned, you will see below canvas screen below.
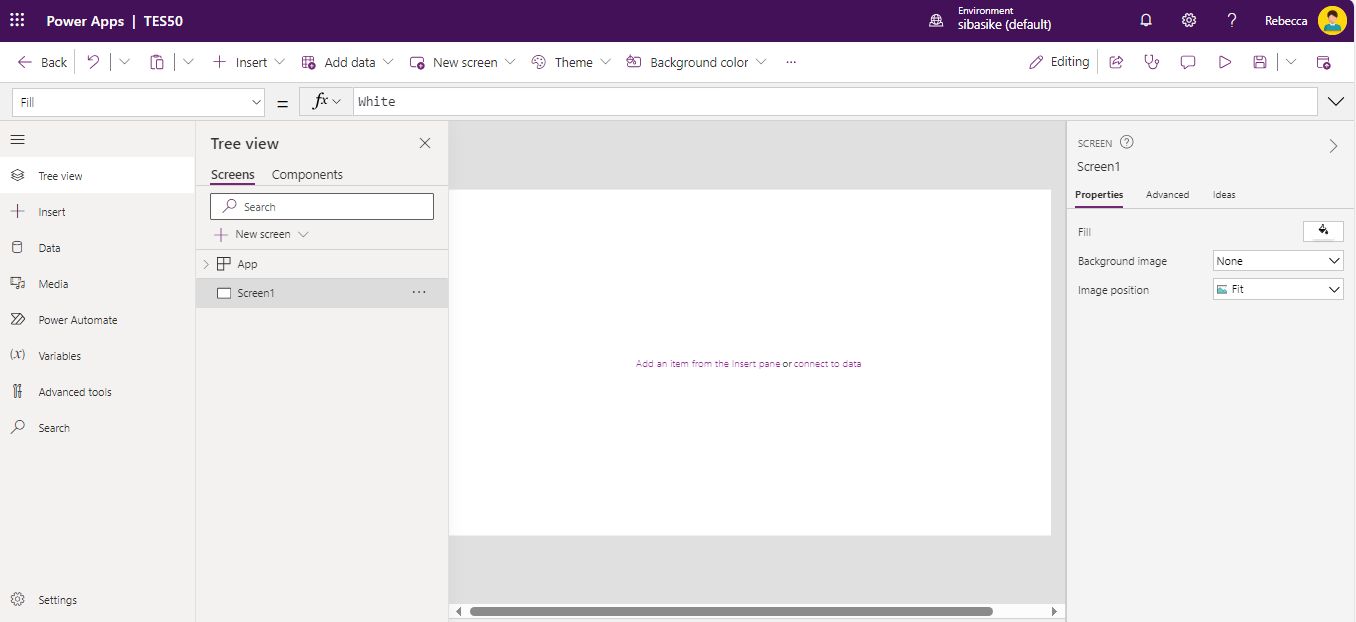
Let’s break down the screen components and see what these are.
- Menu bar, from here you can add a new screen, insert any media, select themes, colors, etc.
- Property selector: from here you can select all the available properties and events related to the current selected control.
- Function/Formula bar: Here you can specify your formula/function. We will be writing the entire code logic into this formula bar.
- Here we have the option to Undo, Redo, Save, Error check, Publish the app, and comments before publishing or saving.
- This tree view helps us to add the components into our canvas app such as PowerApps, Data sources, Media, etc.
- This is a property pane; this will display the properties of the currently selected controls. This might now show all the properties, so we may have to click on “Advance” to see more properties and for events, we have to click on the “property selector” option.
- Canvas Area: This is the actual canvas area where you will be designing your PowerApps. All the screens added controls added will appear here.
- You can control your app settings from the settings menu.
- Information about your current screen such as your current active screen name and zoom level will be displayed here.
Let’s add some controls.
Click on the “Insert” menu on the menu bar and click on “Text Label” to add a text label to your canvas screen.
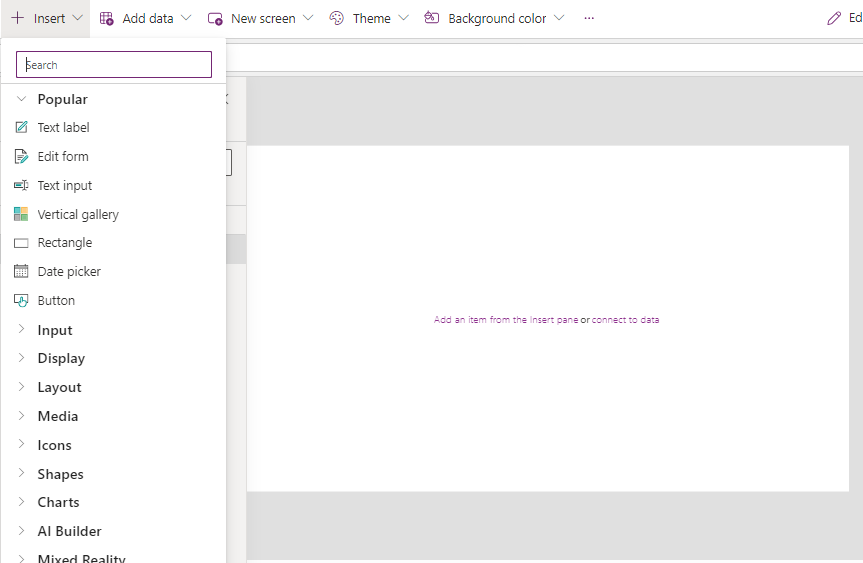
Similarly, you can add, text boxes, galleries, forms, etc.
Saving Your App
Once you are done editing/designing your app, you need to save it. To save the PowerApps, click on the “Save” icon on the top right corner of the screen

Once you click on the save button, the app will be saved and the save button will be grayed out. This will enable again as soon as you do some edits on the screen.
Playing with your app
Once you have developed some screens and controls, and you need to play with the app to see how others will see, you can always click on the Play button available in the top right corner of the screen.

Publishing your app
If you need your app to be available for someone else, or you need to embed the app into SharePoint or PowerBI report, you must publish your app first.
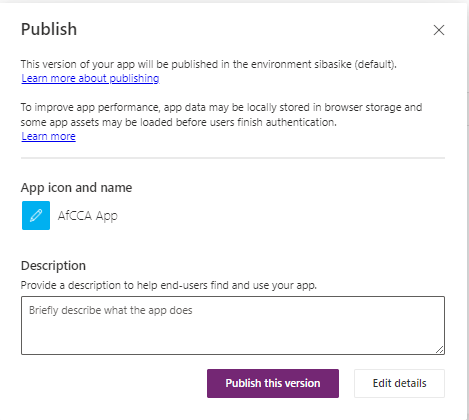
To publish your app, you just need to click the Publish button available on the top right corner of the screen.

Once you click the publish button, it will ask you the confirmation and when you hit the “Publish this version” button, it will now publish your app and create a published version on the PowerApps web portal.
If you have any questions or suggestions, you can reach me in the comments section.


