

In this blog, we will explore how to leverage JavaScript to manage field visibility in model-driven apps. We will cover the basics of adding JavaScript to your forms, writing functions to show or hide fields based on conditions, and best practices for maintaining clean and maintainable code. By the end of this guide, you will be equipped with the knowledge to create more dynamic and user-friendly model-driven apps, enhancing the overall experience for your users.
Prerequisites
Before you begin, ensure you have:
- Basic knowledge of JavaScript.
- Access to a model-driven app in Power Apps.
- Appropriate permissions to customize the app.
Step 1: Access the Form
- Navigate to the Power Apps portal.
- Select the model-driven app you want to customize.
- In the left navigation pane, click on Tables and select the table you want to modify.
- Open the form where you want to implement the show/hide functionality.
Step 2: Add JavaScript Web Resource
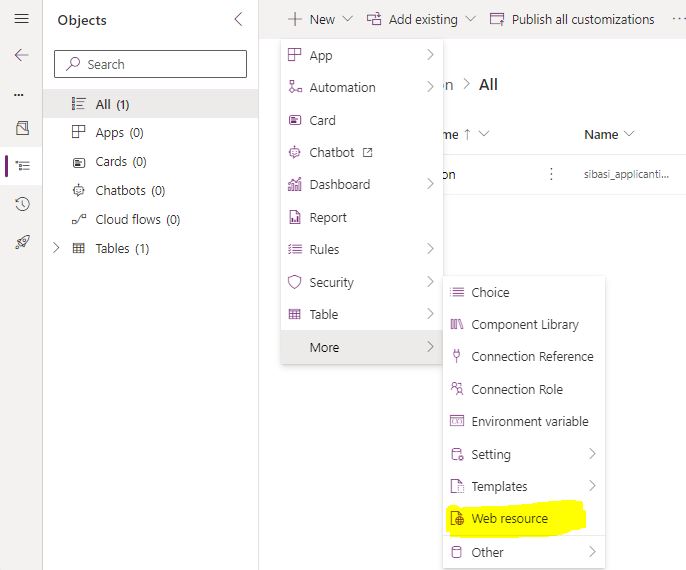
- Go to Solutions and select the solution containing your model-driven app.
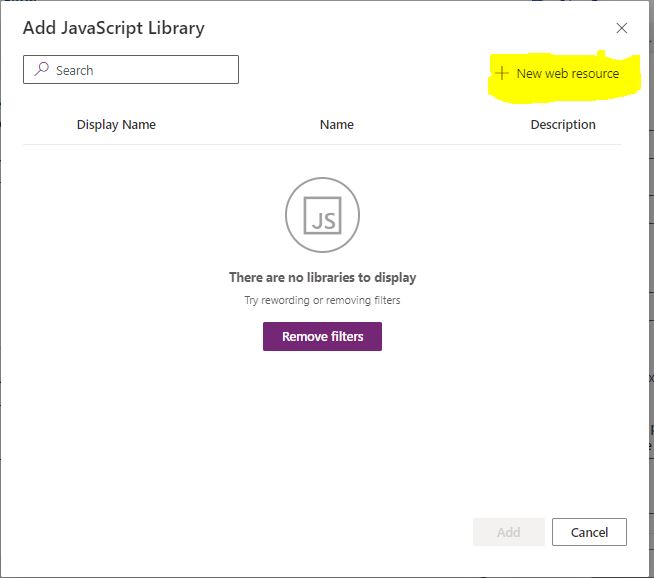
- Click on Web Resources and then New to create a new web resource.
- Enter the following details:
- Name: showHideFields.js
- Display Name: Show/Hide Fields
- Type: Script (JScript)
- In the Text Editor, paste the JavaScript code that will manage the show/hide functionality.
function showHideFields(executionContext) { var formContext = executionContext.getFormContext(); var fieldToCheck = formContext.getAttribute("new_fieldtocheck"); // Replace with your field schema name var fieldToToggle = formContext.getControl("new_fieldtotoggle"); // Replace with your field schema name
if (fieldToCheck.getValue() == "someValue") { // Replace 'someValue' with the condition to check fieldToToggle.setVisible(true); } else { fieldToToggle.setVisible(false);
}}
Step 3: Add the Script to the Form
- Open the form editor for your table.
- Select the form where you want to add the show/hide functionality.
- Click on Form Properties.
- In the Form Libraries section, click Add to include the new JavaScript web resource (showHideFields.js).
- In the Event Handlers section, add a new event handler for the OnLoad event:
- Library: showHideFields.js
- Function: showHideFields
event
- Optionally, add the same function to the OnChange event of the field you are checking to ensure the visibility updates dynamically as the field value changes.
Step 4: Test the Functionality
- Save and publish the form.
- Open a record in your model-driven app to test the functionality.
- Change the value of the field you are checking to see if the other field shows or hides as expected.
By following these steps, you can easily implement show/hide functionality in your model-driven apps using JavaScript. This enhances the user experience by keeping the interface clean and relevant to the user's input.